Getting Started
Publish your site and go live
Take a draft live on your free address, then share it and watch the stats arrive.
- 1
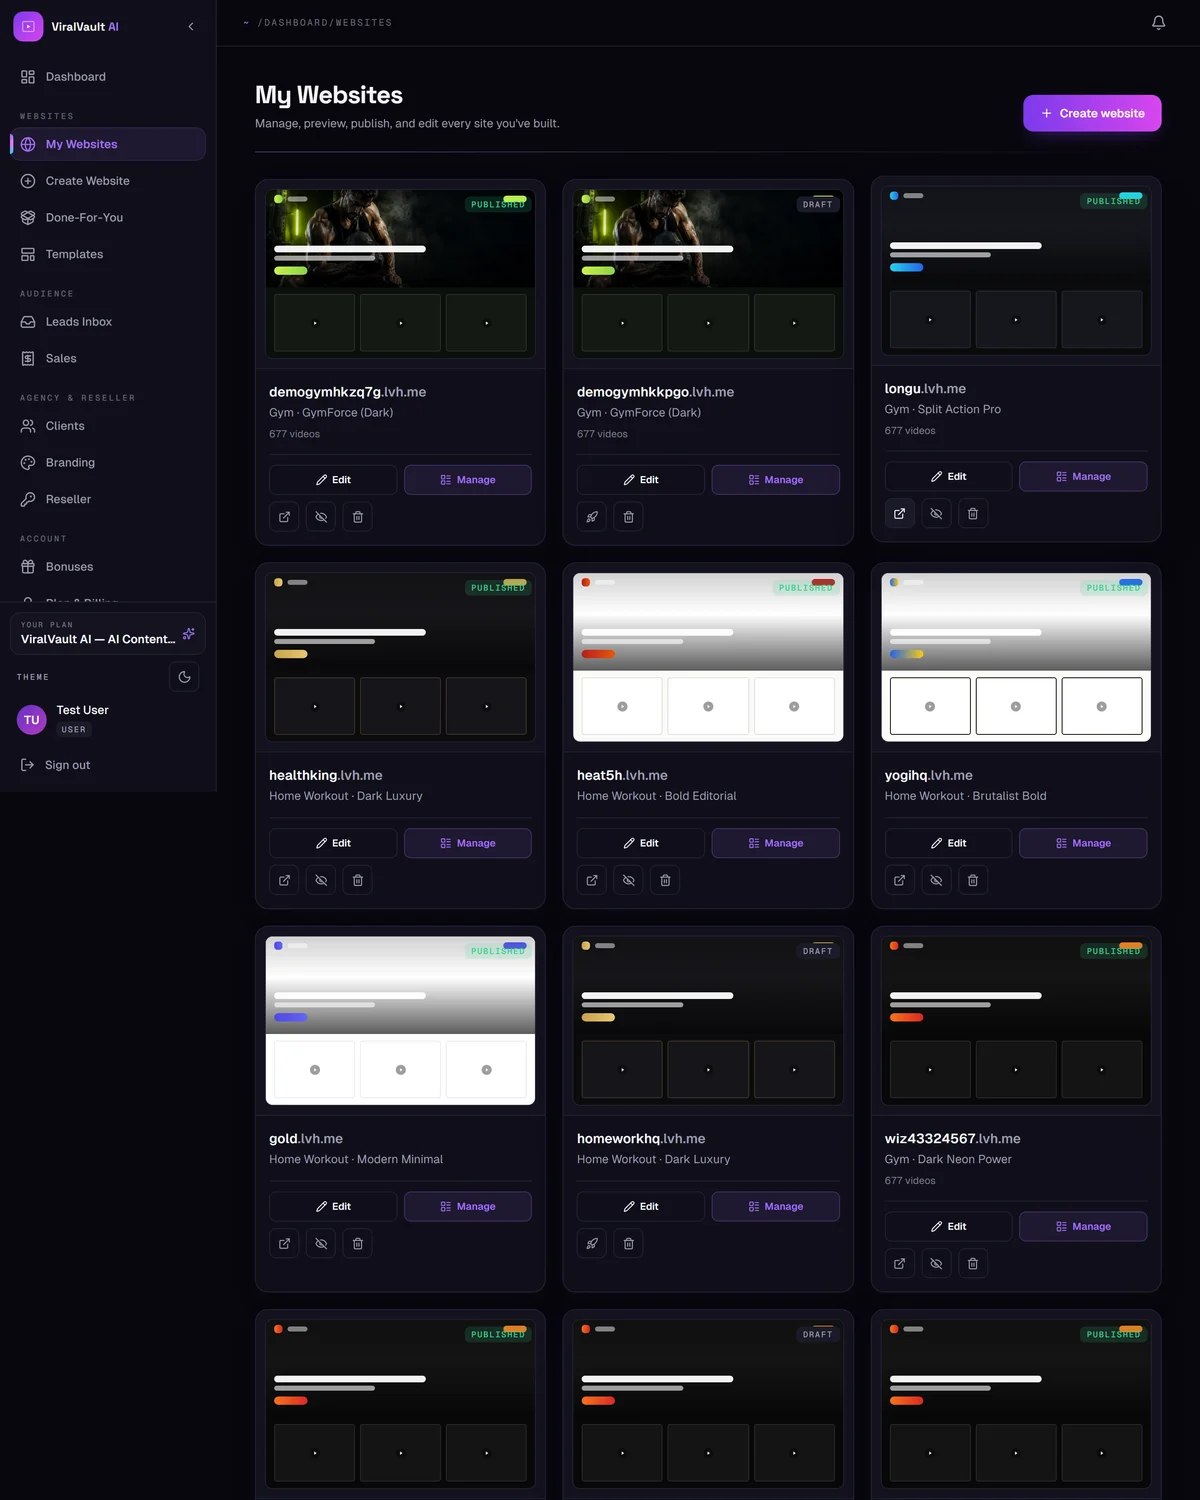
Every site starts as a draft
A new site is private until you publish it. In My Websites a draft shows a grey dot; a live site shows a green one.
- 2
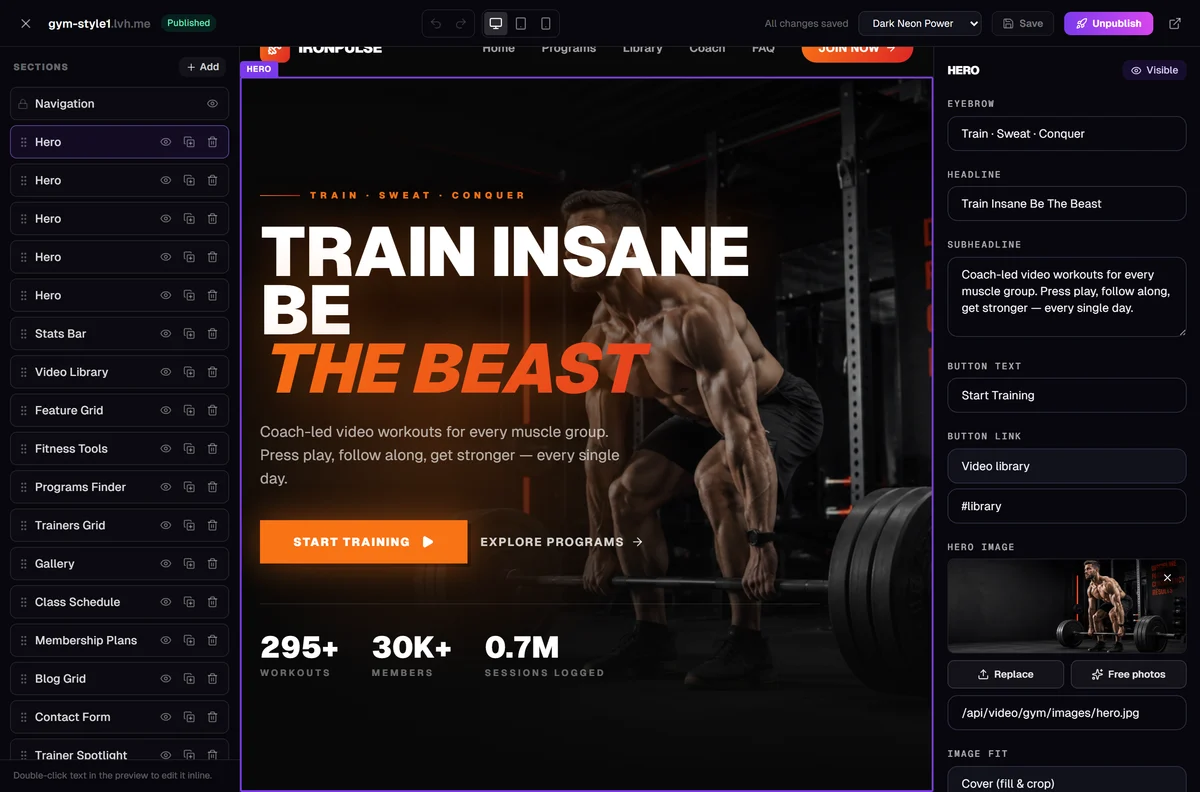
Press Publish in the editor
Open the site's Editor and click Publish in the top bar. That's the whole step — your site is live immediately on its free address, with HTTPS already working.
- 3
Share the link
Your address is shown at the top of the left menu, with a Visit site button next to it. Share it anywhere — social bios, video descriptions, ads, a QR code.
Views, leads and sales start recording automatically the moment someone lands on it.
- 4
Then make it yours
Once it's live, two things are worth doing straight away: connect your own domain so the address is fully branded, and set your SEO title and description so Google shows the right thing. Both have their own guides here.
- 5
Using Namecheap? Change it in Advanced DNS, not cPanel
If your domain is on Namecheap and you also have their shared hosting, the DNS screen inside cPanel looks like the right place — but changes made there are ignored while Namecheap's own nameservers are in charge. Go to Domain List, click Manage next to your domain, then open Advanced DNS. That is the screen that actually controls where your domain points.
While you are there, check there is only one A record for your domain. An old record left behind alongside ours sends visitors to either address at random, so the site works for some people and not for others.